
Modules – Skills & Tools
Immunological Diagnostics
Background Information
WHY YOU SHOULD CARE ABOUT…
A variety of different immunological diagnostic tests are developed using specific antibodies for specific pathogen derived proteins OR host produced antibodies against the pathogen.
Immunological diagnostic tests can monitor the progress of a patient and methods to measure efficiency of antibody production or immune system stimulation are based on the utilization of specific antibodies produced by the body in response or a specific antigen or epitope. The most common antibody-based assays are ELISA (Enzyme-linked immunosorbent assay, readout done with colorimetric (EIA), fluorescent (FIA), chemiluminescent (CLIA) or radioactive detection methods (RIA), IFA (Immunofluorescence assay or also Indirect Immunofluorescence assay), LFA (lateral flow assay), IHC (Immunohistochemistry), Western blot also called immunoblots, agglutination (clumping) and precipitation (cross-linkages) assays, immunodiffusion and less commonly RIA (radio immune assay). Blood typing is another immunological method used regularly to check for blood compatibility before transfusions.
In addition to these diagnostic methods, there are many antibody based applications in a variety of research areas and today specific antibodies are used for cancer treatment and used to target other treatment to specific cells and receptors (antibody-drug conjugate).
More recently, non-traditional functions of antibodies have been discovered that play an important role in the body, for immunomodulation, as transporters for pathogens across membranes and other adaptive functions of the immune system, providing novel potential therapeutic treatment. To stimulate the gut immune system, Heleminth Therapy is being used, yes, infecting humans with parasitic worms!
Blood-Typing
What is your blood type?
If someone asks what your blood type is, you’re answer will most likely depend on the ABO/Rh system. The ABO/Rh system is the most well known of the many blood group systems and classifies blood into four possible blood types, A, B, AB and O based on antigens present on the surface of the red blood cells. The RhD group of the complex rhesus system classifies blood as either positive (RhD pos) or negative (RhD neg). The ABO system is the only blood group that has naturally occurring antibodies against the antigens not present on your red cells. So, if you are type A then you have antibodies against B antigens. This can cause severe issues when people need to receive blood as incompatible antibodies and antigens react. In fact, the intensity of the reaction is so strong that with a drop of blood you can see clumps, or agglutinates, form with your own eyes.
Learning Objectives
After completing this module, students will be able to:
- Know new vocabulary and definitions that pertain to this module
- Use appropriate methods to use serological methods to identify infectious diseases
- Simulate the transmission of a disease under various scenarios
- Diagram how to conduct ELISA assays, distinguish different types of ELISA assays
- Judge the value of antibody based diagnostic assays for infectious diseases
- Learn about blood typing
- Know universal donor and universal recipient blood types
- Have experience conducting an Eldon blood typing experiment and interpret the results.
HISTORY CONNECTION
Using antibodies for the treatment and detection of disease has been used for a long time. Serum therapy was pioneered by Emil von Behring and Shibasabura Kitasato in the 1890, which was based on using antibodies from convalescent (recovered) patients to help to cure disease in the acutely sick people. Emil van Behring became the first ever to receive the Nobel Prize in Physiology or Medicine in 1901 “for his work on serum therapy, especially its application against diphtheria, by which he has opened a new road in the domain of medical science and thereby placed in the hands of the physician a victorious weapon against illness and deaths.”
Virtual Lab Simulations
Choose one of the virtual activities to complete:
Nobel Prize Blood Typing Game
BioInteractive- Virtual Immunology Lab
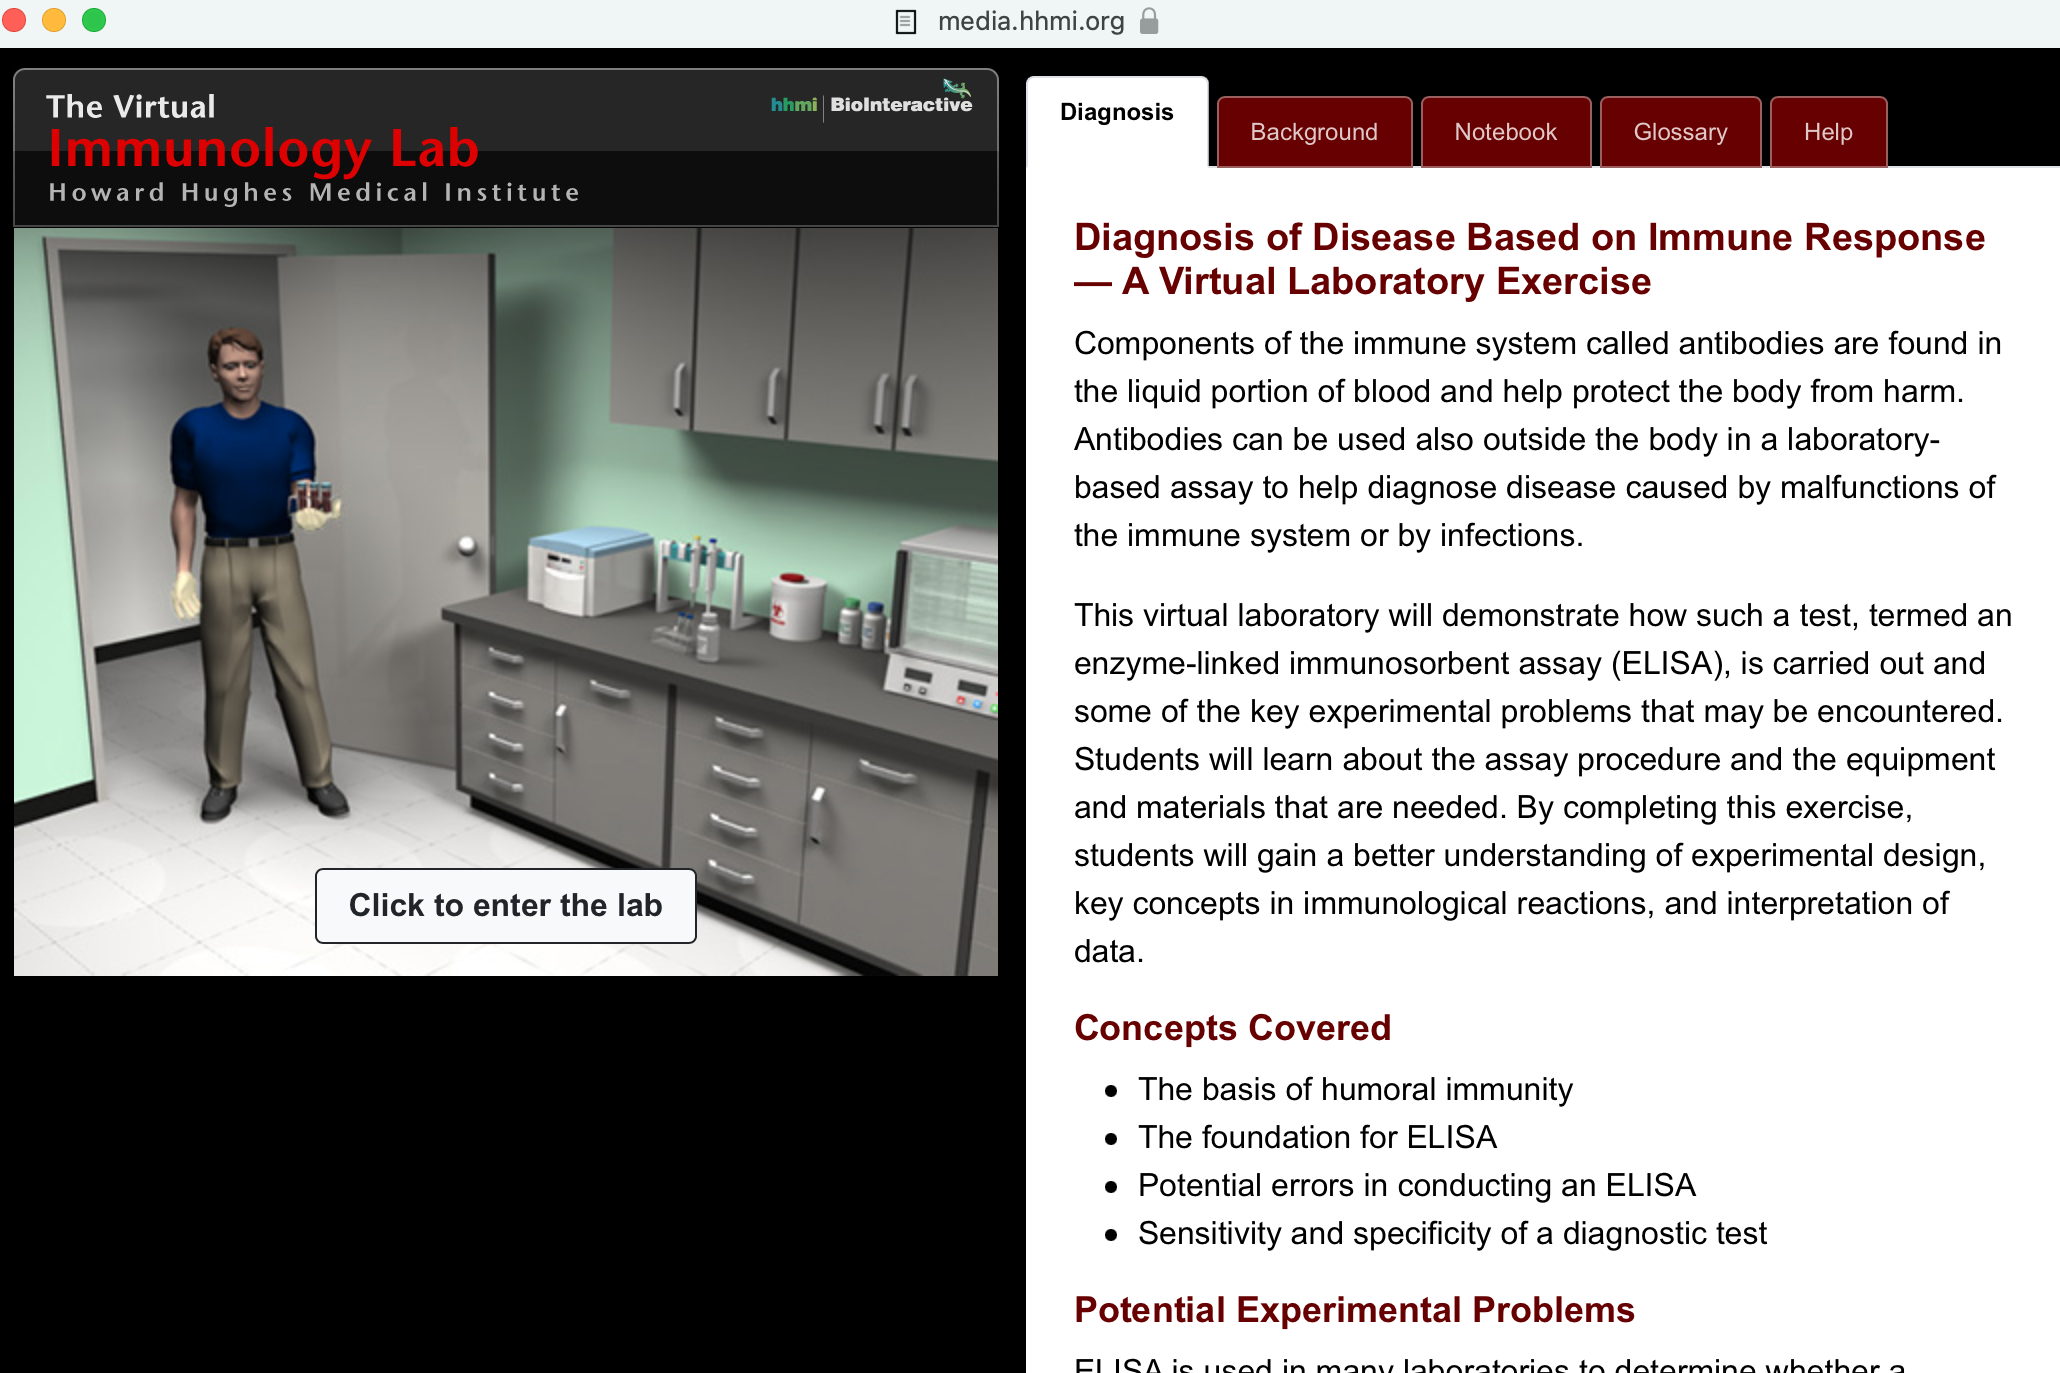
Virtual Immunology Lab: ELISA
- Go to the “Virtual Lab Simulations” tab for this module and navigate to BioInteractive- Virtual Immunology Lab.
- Complete the virtual activity and answer all the questions in the simulation’s built-in notebook.
- Submit your notebook, pictures, and answer all questions under Results.
- Contact your TA or Dr. Oli if you run into any technology issues.
Complete the blood typing game or the virtual immunology lab to learn more about how ELISA can be used to test blood samples for diseases. Upload pictures and your completed lab notebook for this activity.
Online Lab
ACTIVITY: Exploring Immunological Diagnostics
Immunohematology – Blood typing your own blood
Lab Kit Content
Blood-Typing Kit
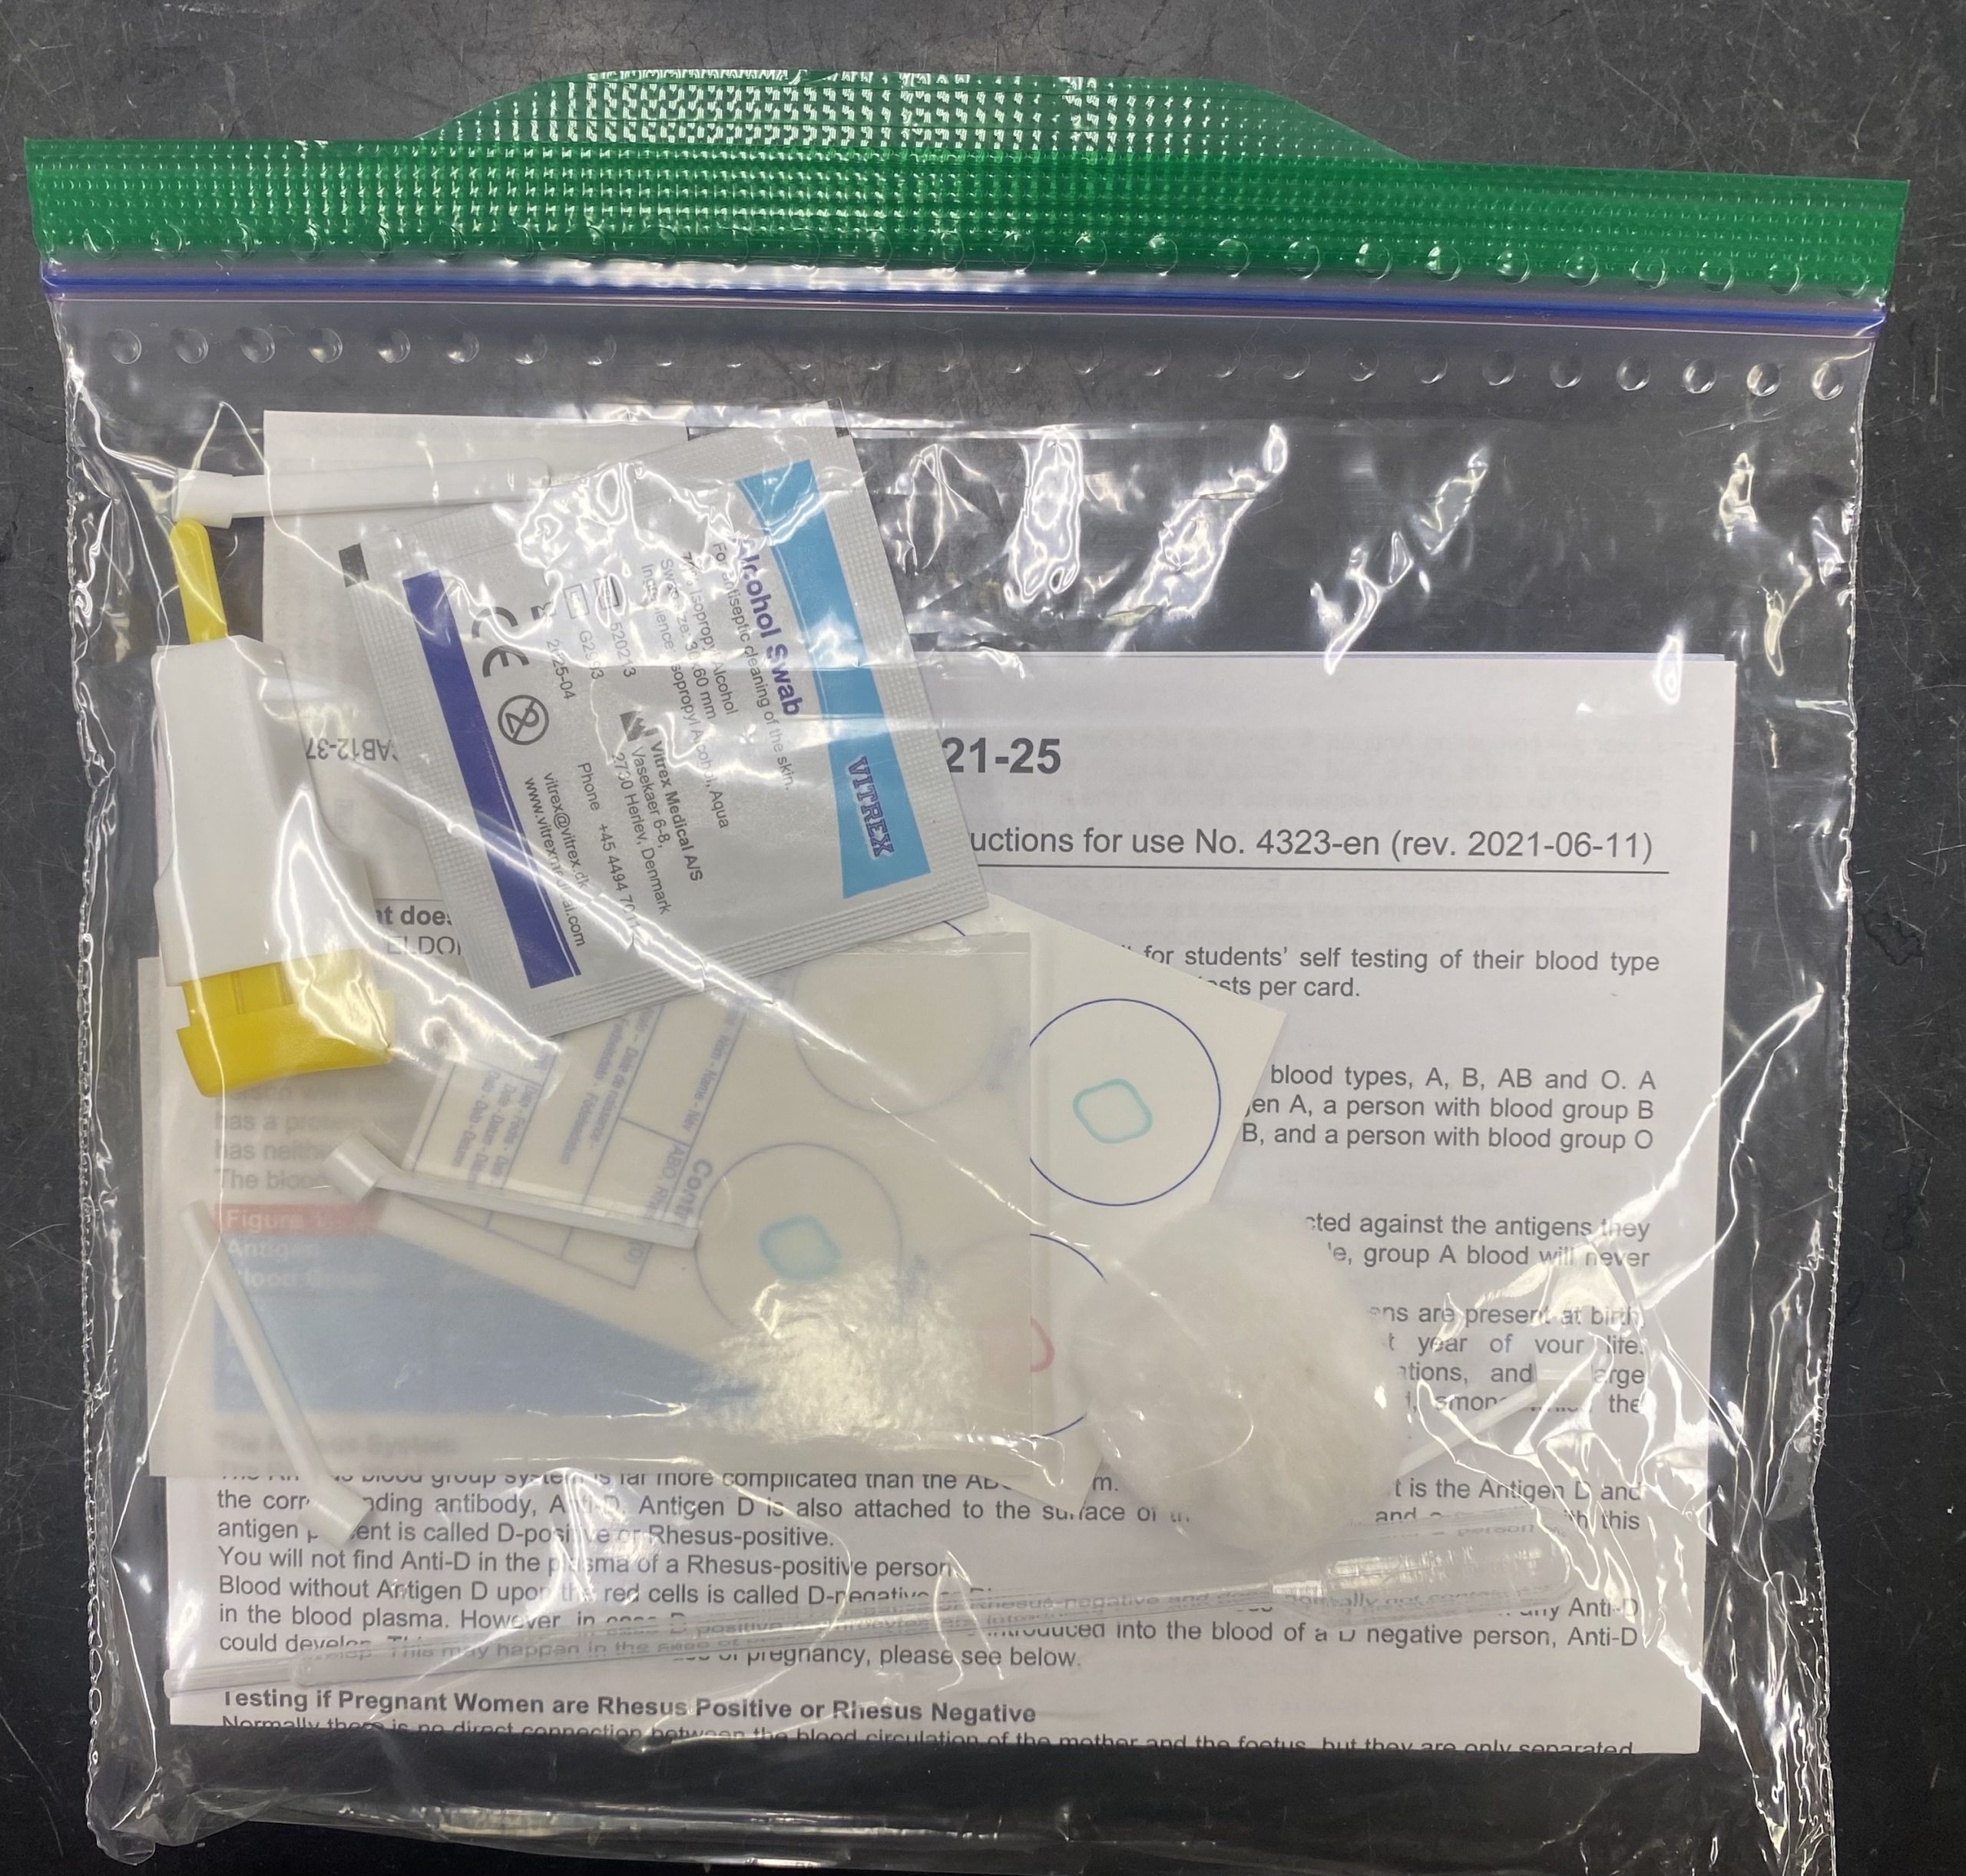
- 1 Eldon card
- 1 Eldon card film
- 1 Eldon card manual
- 2 alcohol pads
- 1 cotton ball
- 1 transfer pipette
- 1 lancet
- 4 Eldon sticks
Video Tutorials
How to do ELDON Blood Typing Test
Procedure: Blood-Typing Kit
- Using a sharpie clearly write your name on the Eldon card provided.
- Using a transfer pipette place a small drop of water in each colored circle. DO NOT TOUCH these colored reagents.
- Wash your hands with warm water and make sure that they are thoroughly dried.
- Take the lancet and twist the colored tip. Be careful not to activate the lancet; it can only be used once.
- Pull off the tip of the safety lancet.
- Disinfect the place where you will do the prick with using the provided alcohol wipe and allow it to air dry.
- Rub your hands together for 5 minutes. (This will assist with blood flow and soften the skin to make penetrating the skin easier in the following step.)
- After the 5 minute mark, place hand flat on table with palm facing upwards and prick either your middle or ring finger.
- Place the lancing with the opening facing your finger and push down until you hear a “click”
- Remove the lancet from your finger
- Keep arm down on a table and gently press the blood towards the finger.
- Continue pressing until a drop of blood with a 3-4mm diameter is seen.
- Apply the blood to an Eldon stick (you were given 4 in your blood typing kit)
- Approach from underneath the finger so that you do not smear over the skin
- Place the stick with blood onto the first circular field. Allow it to touch the water already present.
- Repeat steps 8-9 three times using the remaining Eldon sticks. Make sure to keep each stick inside its own field separate from the other sticks.
- Stir the blood into the first field with the Eldon stick for 10 seconds to dissolve the reagents. Try to cover the entire field of the circle but do not cover beyond each circle.
- Repeat step 10 in the remaining fields using their own sticks. In order to prevent the blood from clotting begin stirring within 2 minutes of applying blood to the first Eldon stick after initially pricking the finger.
- The contact between the red blood cells and reagents may cause the cells to agglutinate into a grainy structure. Tilt the card for at least 40 seconds to develop all possible agglutinates. Tilt the card upright for 10 seconds, to the right vertical position for 10 seconds, and twice for the other edges for 10 seconds each.
- Determine your blood type and Rhesus factor
- Optional: Leave the card to dry on a flat surface. When the blood is completely dry use a piece of ELDONFOIL 2511 to encapsulate the blood and preserve the result.
Results
Include the following information in your ELN:
- Pictures of the virtual lab simulation and your notebook.
- What is an ELISA test and why is it important?
- What is the purpose of the washing steps in an ELISA?
- What are false positives and false negatives and what can cause them?
- Pictures of your blood-typing kit and your blood-type results. Discuss how blood-typing works and what reactions were involved.
- Discuss the importance of immunological diagnostics. Give examples of common diagnostic tests used and how they work.
- Discuss how rapid Covid tests work and compare their accuracy to lab diagnostic tests.
In-Person Lab
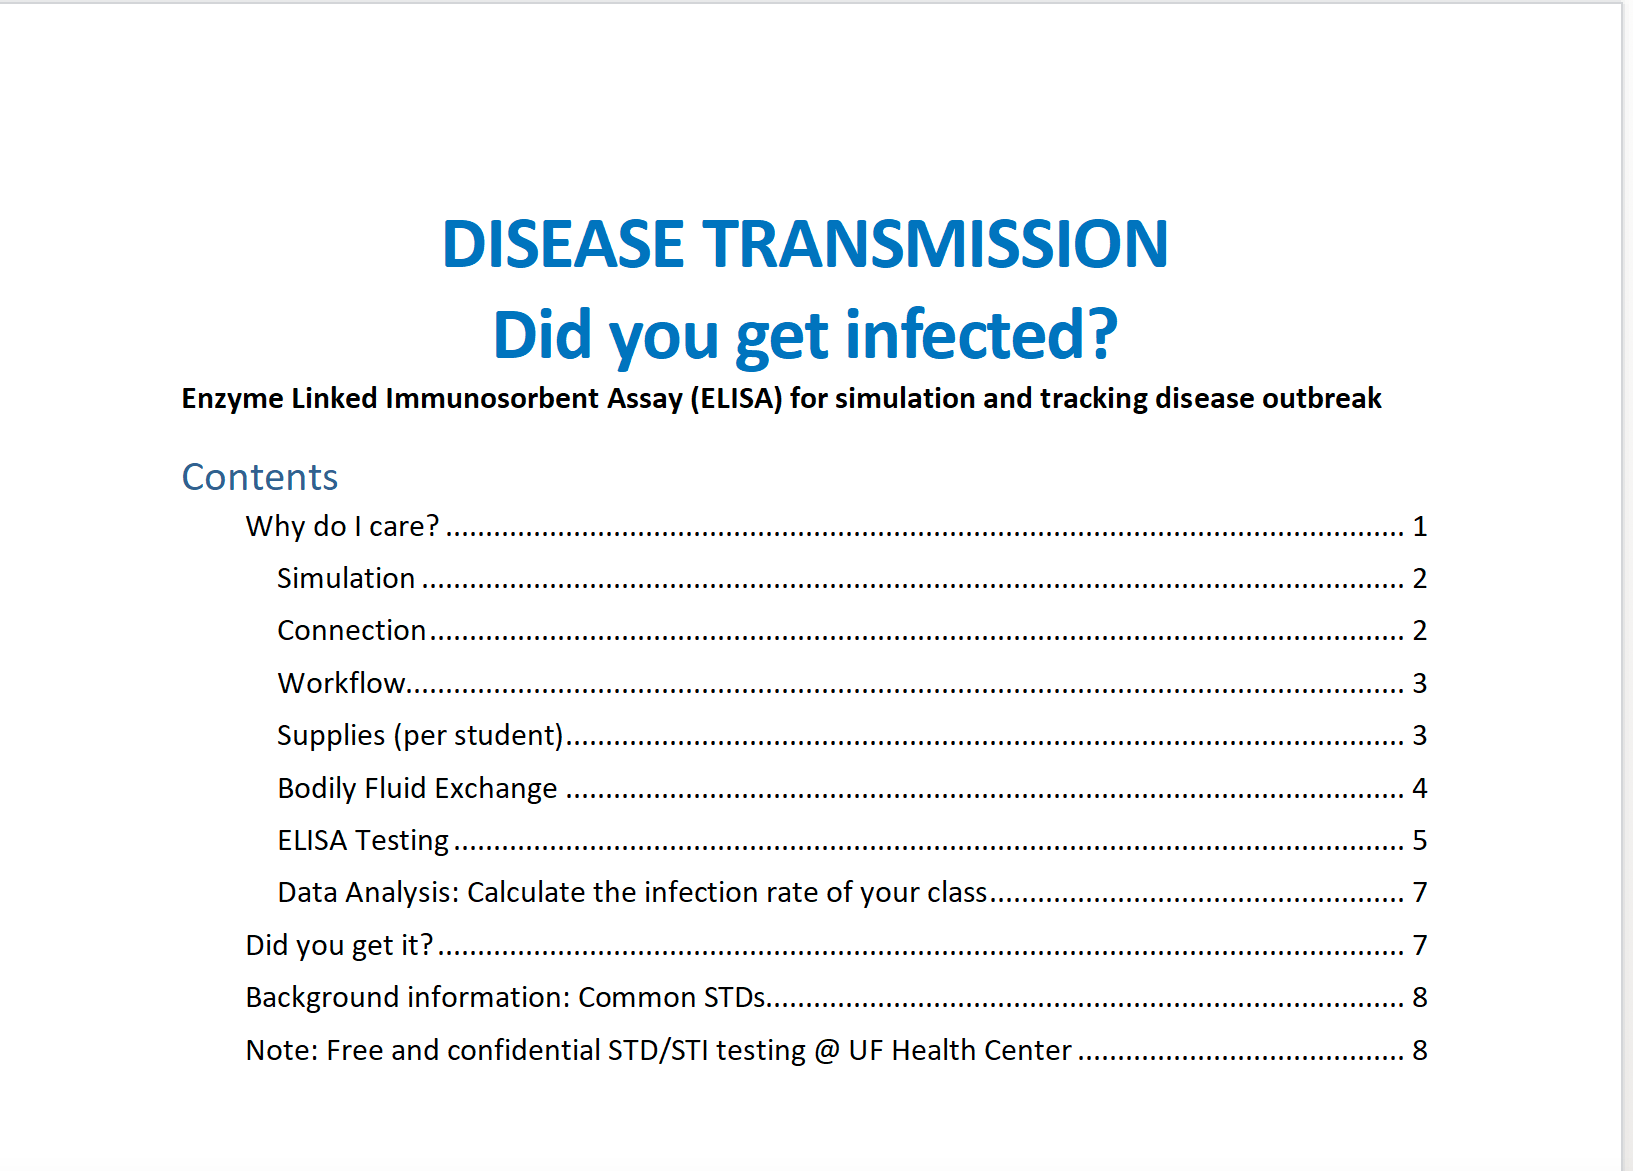
ACTIVITY: Disease Transmission
Video Tutorials
STD ELISA
How to do ELDON Blood Typing
Results
Include the following information in your ELN:
- Were you infected at the beginning of the class? Did you get infected?
- Who infected you?
- How can you avoid getting infected?
- What happened in your body that you become “positive”a. Explain in the light if the pathogen’s antigen is measuredb. Explain in the light if the antibody titer to the pathogen is measured
- Calculate the infection rate of your class section: # of people who were infected at the very beginning (before first exchange) – # of people who were infected after 3 exchanges. For example: 30 students tested positive after the exchange; 35 students in the class (30/36)x100 = 83%
Submit your ELN according to your GTA’s instructions.
Resources
- Take a look at the appropriate module for the vocabulary that is being tested: Microbiology @ UF Lab Terminology Quizlet.
- Watch the video of our normal MCB ELISA experiment in the lab: STD ELISA
CASE STUDY
Mis-diagnosed Lyme Disease and Tick induced meat allergy (alpha Gal) – check it out how confusing and conflicting the information is.
