
Technology for Teaching & Learning
18 Zoom
Michael Barber and Alexandra Bitton-Bailey
Zoom is a video conference service available to all UF students, faculty, and staff. Details about obtaining access and using Zoom can be found on the UFIT Video & Collaboration Services website.
- UF Zoom meetings can accommodate up to 300 participants.
- Webinar rooms that can accommodate more than 300 participants are available.
- Here are some additional resources that can help you learn more about using Zoom:
Set-Up | Zoom Security | Zoom Auto-Transcription | Zoom FAQs
Set-Up
 You must sign in once through the UF Zoom website in order to create your account before using Zoom. Then, you can access and create Zoom sessions on that website or from within your Canvas course. To set up Zoom meetings in Canvas, first follow these steps to enable the tool in your class:
- Log into your class and click the “Settings” link in the left navigation.
- Find Zoom in the bottom list of tools that are hidden from students.
- Drag Zoom from the bottom list to the top list of tools students see in the navigation.
- Click the “Save” button at the bottom of the screen.
When you schedule Zoom class meetings on your Canvas site, students will receive an email message to tell them about the session. It’s a good idea to also send out an announcement describing the session topic and whether a recording will be made available to them.
Schedule Class Sessions
Once you have enabled Zoom in your Canvas course, you are ready to schedule your class sessions. Click on Zoom Conferences in the Navigation menu, and select Schedule a New Meeting. Check the box next to Recurring meeting (Under Time Zone) to create regular sessions on the appropriate days. As you are scheduling meetings, you can also set security settings (see the recommended security settings in the next section).
- Video: Select Host on and Participant on.
- Audio: Select Telephone and Computer Audio.
- Meeting Options:
- Enable join before host
- Mute participants upon entry
- Alternative Hosts: Add TAs, additional facilitators, or student moderators.
Zoom Security
In order to avoid unauthorized visitors into your Zoom meetings, it is important to use one or more of Zoom’s security settings. Visit ufl.zoom.us/, sign in, and then click on Settings in the left-hand navigation. Options include enabling waiting rooms, setting meeting ID requirements, and restricting meetings to authenticated users.
- Set a passcode that your students must use to enter the Zoom meeting. Or, enable the waiting room which allows you to screen and admit people into the meeting room.
- If you will record the session, notify session participants that the meeting will be recorded
- Be sure to include a statement in your syllabus that informs students of the privacy issues. Standards for recordings that involve students are located at the bottom of UF’s FERPA Confidentiality page.
- Let students know that it’s an honor code violation to share the link video recording link to people outside of your course.
Visit the UFIT resource: Keep Zoom Secure site, for more recommendations and how-to information. The UF Computing Help Desk is also ready to assist with your video conferencing questions.
Chat Recording
The University of Florida Faculty Senate Academic Council has drafted a suggested syllabus statement about class recordings. The statement is included in the UF Policy on Course Syllabi.
To avoid recording the chat messages:
- First set up the meeting in your Canvas Zoom Conferences.
- Then go to your Zoom account at ufl.zoom.us
- Choose Settings from the left menu
- Then choose Recording from the top menu
- Uncheck the box next to “Save chat messages from the meeting/webinar”
Zoom Captioning and Auto-Transcription
Your University of Florida Zoom account has the capability for live captioning and transcription.
Turn on Zoom Auto Captioning and Transcription
- Log into your Zoom account
- Choose Settings from the left menu.
- Scroll down to Automated Captioning and turn this feature on.
- Turn on Full Transcript to allow the full transcript to be available during the meeting.
- You may also choose to allow participants to Save Captions by turning on that feature on the Settings page .
Auto Transcription Notes
- The live transcription feature is available even if you are not recording the session.
- This feature is not currently available in breakout rooms.
Zoom FAQs
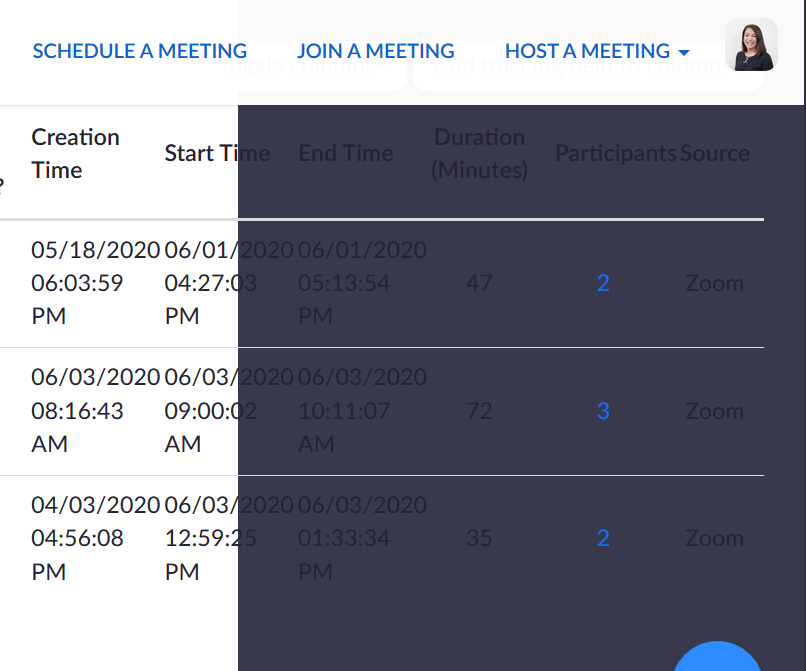
Can I generate an attendance report from Zoom meetings?
You can generate a report that includes who attended your Zoom meetings and how long they were in the meeting. Zoom also allows for you to export a CSV file (a spreadsheet) of that information. The directions on how to create an attendance report are on Zoom’s help site. You can then import the .CSV file into the Canvas gradebook as an assignment.
How do I pre-load students into breakout rooms?
If you have a large class, you may wish to set up breakout rooms with specific groups before your class meets. This feature can also be helpful if you will be replicating groups created in a face-to-face setting.
You can find the instructions on how to do this in this Zoom Guide: Pre-assigning participants to breakout rooms
Can students use Zoom?
All UF students have a Pro Zoom account. To access their accounts, students will need to:
- Go to ufl.zoom.us
- Click “UFL Sign In”
- Login
Students cannot automatically record their Zoom meetings to the “cloud.” If you want to view (for spot-check, peer review, or grading purposes) their recordings, students will need to upload the file to one of the following storage services: OneDrive, GoogleDrive, or DropBox. Then students will need to make set the file to be “viewable” and provide a link in an assignment or discussion forum within Canvas.
How can I schedule recurring Zoom meetings?
Depending upon how often your course meets, follow the below steps in Zoom or in Zoom Conferences inside Canvas:
- Click Schedule a Meeting.
- Select the checkbox next to Recurring Meeting.
- Select the appropriate recurrence in the dropdown (daily, weekly, ect.).
- Select from the dropdown menu how often you would like the meeting to repeat.
- Select the days for your meeting by clicking the checkbox next to the day.
- Set an end date.
Does Zoom have polling options?
Yes! Follow the instructions on this page to create questions for a poll ahead of the meeting or to add a poll during a meeting.
How can I make sure a Zoom meeting is secure and confidential?
UF has posted instructions on how to close a Zoom room for private meetings. You can also find helpful tips in the article titled “Holding Class on Zoom? Beware of These Hacks, Hijinks and Hazards.”
How do I play a video in Zoom?
- When sharing your screen, check the box at the bottom of the share screen prompt that states “Share Computer Sound.”
- If you have already done this, you may need to check the box next to that, which states “Optimize Screen Sharing for Video Clip.”
How do I see my students?
In order to see your students while showing your screen, follow these instructions.
How can I improve audio and video quality in my meetings?
Everyone wants a high-quality video and audio connection to Zoom so you can see and hear everyone and they can see and hear you. We also want a class that feels engaging and motivating.
The following suggestions can be edited, adopted and used to help your students have a positive class experience:
To improve connectivity:
- Disconnect other devices on your local network that may be using up bandwidth. Even “uploads” (Netflix, Xbox) can cause “download” problems.
- Use “Speaker View” instead of “Gallery View” in your lecture. Having only one video stream on screen at a time reduces the bandwidth needed.
- Turn off your video. Dropping the video during dips in Internet bandwidth can help improve your audio.
- Quit other applications on your computer that may be using significant processing power. Having lots of open browser tabs can also cause problems.
- Use a smartphone on a mobile (“LTE”) network instead of a laptop on your local network. You can use the Zoom app on your phone, and look at downloaded materials on a computer. Or you can open the Zoom meeting on your computer without mic or video and call in on your phone. When you join by both phone and computer be sure to merge your two identities. This can help both your devices show as one and move with you when you are sent to breakout rooms.
- Merge your phone and computer in a zoom meeting:
- Join the Zoom meeting
- When prompted to select one of the audio conference options (join with computer audio or join with phone audio) select join with phone audio
- Click the phone call tab dial one of the given numbers using your phone and enter the meeting ID
- Enter the participant ID (this is the important step because it merges the phone to the face to make one rectangle in the gallery of participants otherwise participants will have a block for their computer and one for their phone.
- You can also do this when already in a meeting by clicking the arrow next to the mic icon and selecting to switch to phone audio.
- Use a wired connection to your home router if possible.
- Check your internet speed with speedtest.net. Speeds of 600kbps (0.6mbps) are required for Zoom (both download and upload). Speeds of 1.2mbps are required for high quality video. If your speeds are below these values, consider using a smartphone (#4, above) or, if possible, connect to another network. You can request a hotspot from your phone or other device.
- Use headphones whenever possible If you still hear or produce an echo or if you have a lot of background noise headphones will help!
- Share and use keyboard shortcuts in Zoom. For the most commonly used one visit Digital Trends.
